Stránka 2 z 2
Re: A Ferdinand gets new springs again
Napsal: 18 dub 2014, 18:31
od Vojtiš
Hi Edvin, very very good work Vojtiš.

Re: A Ferdinand gets new springs again
Napsal: 18 dub 2014, 19:02
od Edwin
Thank you Vojtiš....

Re: A Ferdinand gets new springs again
Napsal: 19 dub 2014, 17:00
od Edwin
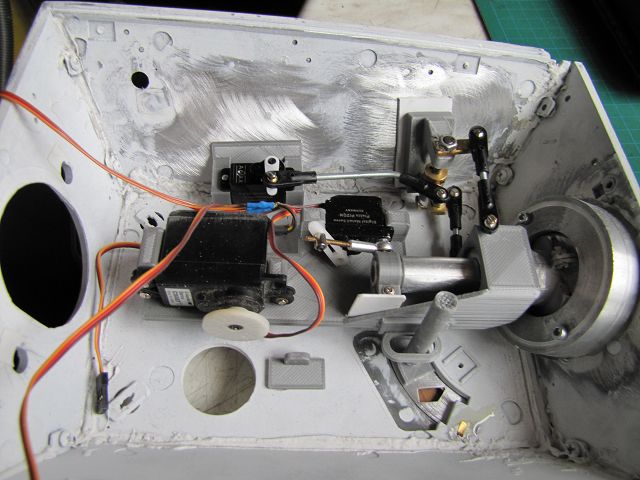
The carriage is now ready and moves as it should be .

Then came today finally the post with the support of the visor cover , and ....... well ........
So I can not build a movable sighting device as Ralf wants. So I tried very carefully a little to turn everything straight.
It almost I succeeded , but it should not be.

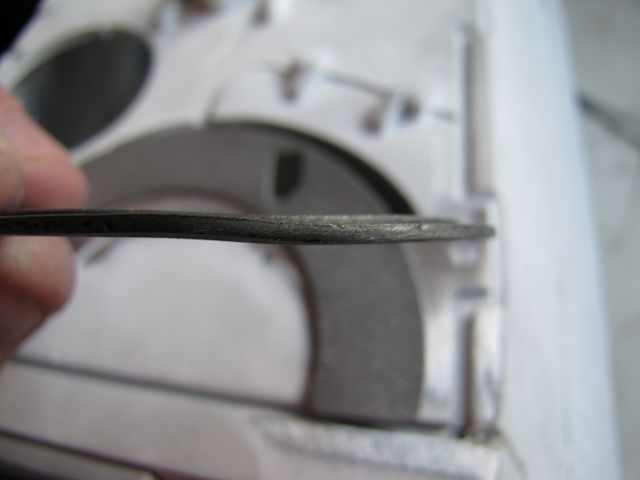
Since I will probably have to build the bracket as well as the visor plate new.
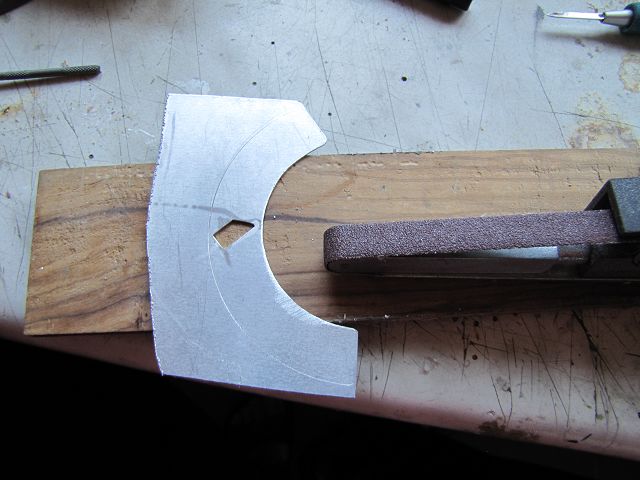
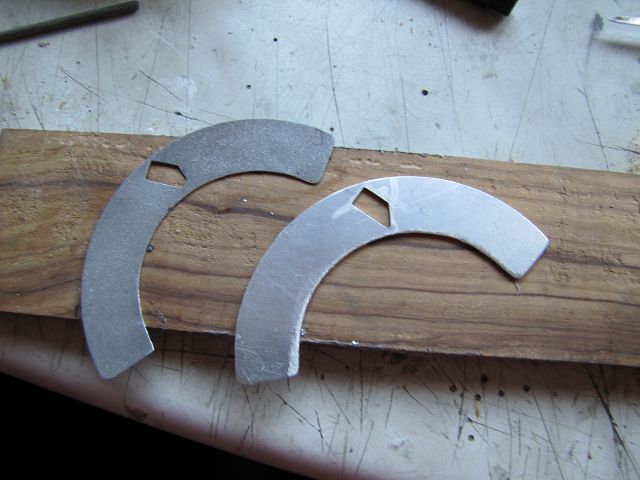
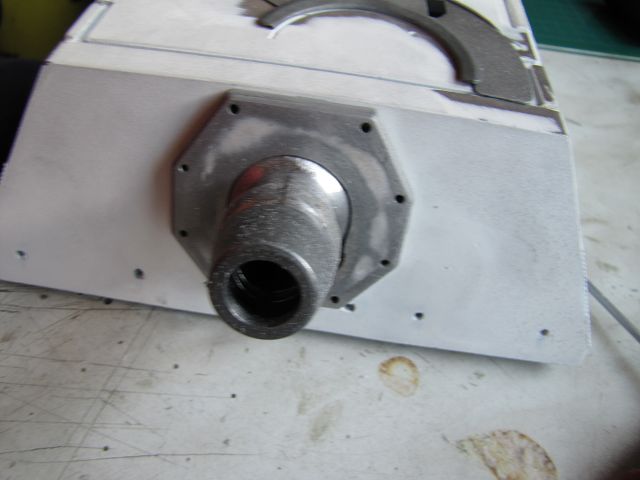
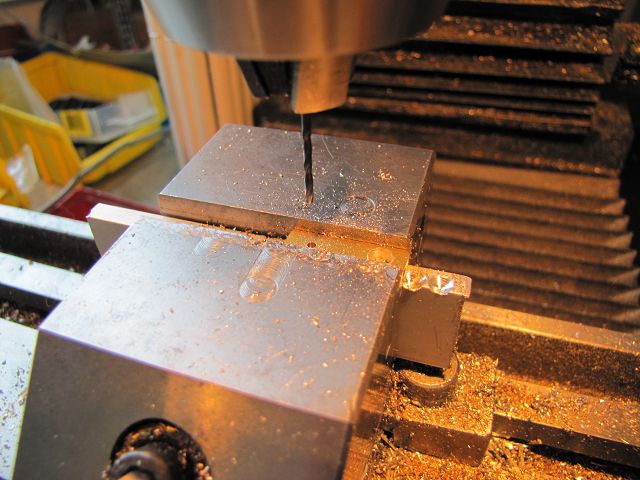
Before I begin , I had but that the support level and adjust the visor cover of rounding . The cover was also slightly bent and lay diagonally on the cover, so yes what should not be. So the surface ground flat , directed the lid and adapted to the curvature of the lid vorsicjhtig with a polishing wheel .

And so it should look like ...

Re: A Ferdinand gets new springs again
Napsal: 22 dub 2014, 17:50
od Edwin
Re: A Ferdinand gets new springs again
Napsal: 23 dub 2014, 17:14
od Edwin
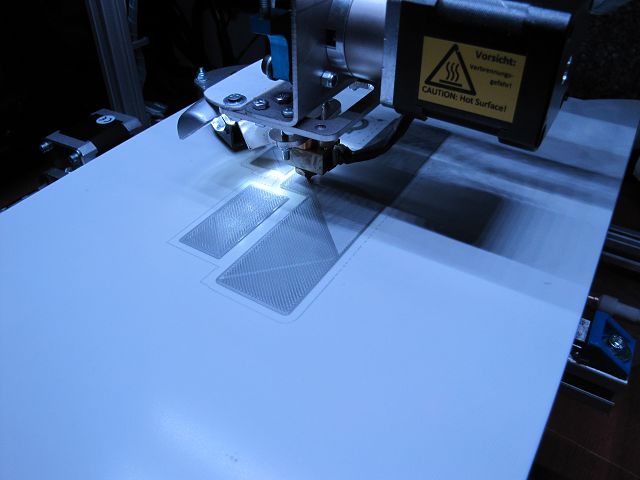
Now that the print overnight was done I had these parts in front of me .

The support that is built to support the prints in the implementation of the joint was removed quickly and easily.

When ball joint I've cut off the screw and ground over something . So I could pipe the rocker after I had this even minimally reworked simply push on .

The driver for the gun barrel I have also included.

On the rocker I immediately suitable mounts for the servos provided what it looks like this .
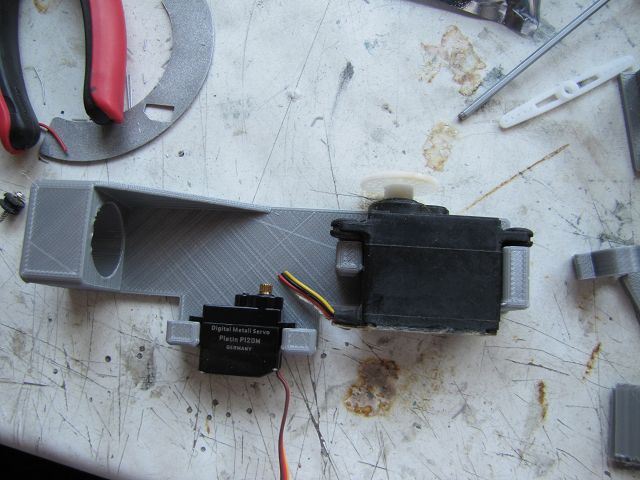
But anyway , I have something I must change .
For the lateral direction , which operates simultaneously as a twist I have to make the bracket for the deflection again again and then also equal to a suitable servo mount . By the way me a very simple mechanism is still remembered so that it rotates to fit the visor in lateral alignment of the cannon. For that I have the drawing again supplemented and print the up again tomorrow from .


So I have when required , or if it is to have someone complete a print file of all parts always have .
Re: A Ferdinand gets new springs again
Napsal: 25 dub 2014, 16:45
od Edwin
Nice and slow one end of my work on the Ferdinand is foreseeable.
I 've now designed and printed a simple driver for the visor .
In addition I have glued a long hole tab on the side of the rocker .

A stamp on the underside of the visor then later glued and this takes the visor then the lateral straightening.

But it goes on first with the redirection page for straightening. The I also have a little improved.

The lever of the deflection do I feature a brass profile I drill identical for all three levers.

Fully assembled it looks then like this. Here already the ball heads.

I also screw each at the top and underside of the rocker a ball , since the articulation of rotation is the same .

And so it is then assembled later.


Then I have the power for the recoil and mounted for lifting and lowering.

Now that 's missing is the articulation on the fighting compartment roof for pipe evolation and two brackets on the roof top for the visor .
Re: A Ferdinand gets new springs again
Napsal: 28 dub 2014, 18:42
od Edwin
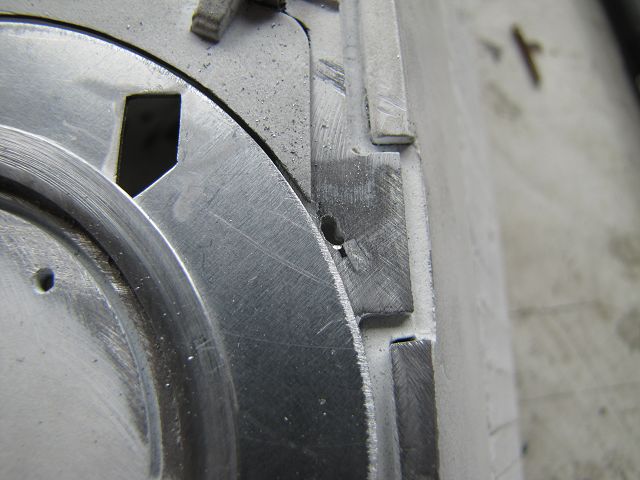
The holders of the visor are now glued . But this I first had to drill through the mounting points and also set a new one , as the Intended is the wrong place .
In addition I have pierced the roof with a 1.2 mm drill and freehand extremely carefully milled with a 1.2 mm tungsten carbide bur the slots . If it has no feeling but should rather be , since it can be an expensive quickly with broken cutters.

So I had to cut only two small brass strip , bend and push through the long holes . At the bottom I have then also bent and glued .


When, after the adhesive has cured everything was nice too smoothly , I can now start to assemble the mechanism.